How to Install Zal Ultra ISP CRM on a Ubuntu VPS — Step-by-Step Guide
If you just bought a VPS and want Zal Ultra running on it, this guide is exactly what you need. No theory, no unnecessary background — just the steps, the commands, and the things that trip people up during installation.
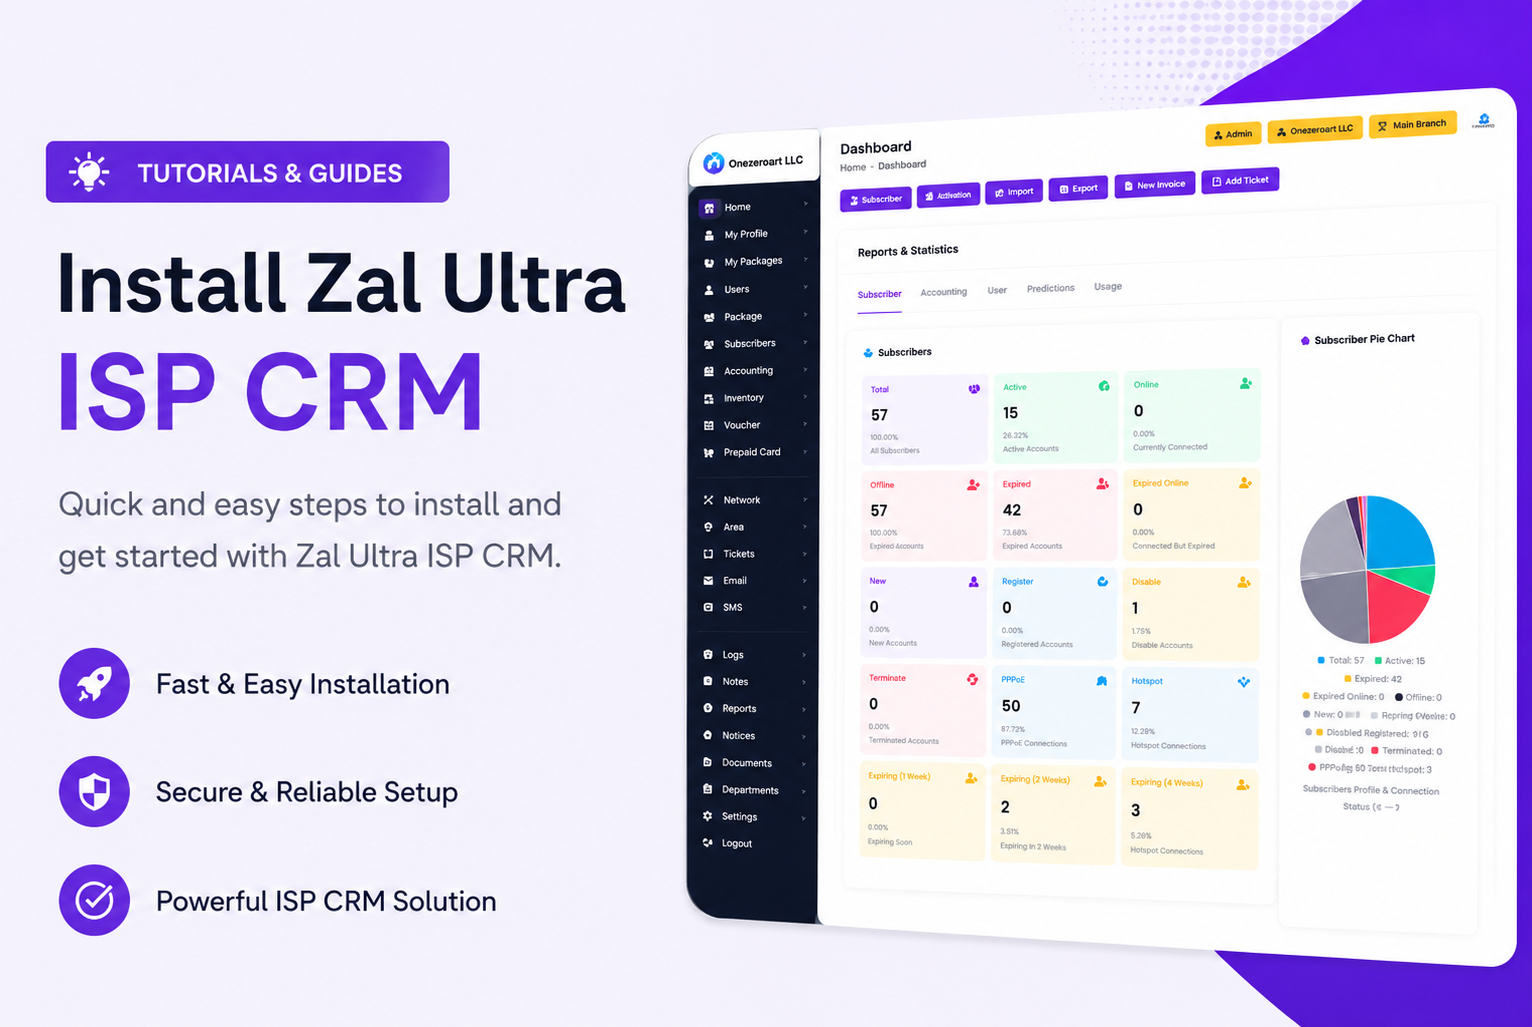
I'll cover everything from server requirements to first login. By the end of this, your ISP CRM will be live and ready for your first subscriber.
Before You Start: What Your Server Needs
Zal Ultra installs via an automated script, which means you don't need to manually install Nginx, PHP, MySQL, or FreeRADIUS. The script handles all of that. But your server itself has to meet a few hard requirements before that script will work properly.
OS: Ubuntu 24.04 LTS only. This is not optional — the installation script is specifically built for this version. Ubuntu 22.04, 20.04, or other distros will likely fail or cause compatibility issues later.
RAM: 4 GB minimum. 8 GB is strongly recommended if you're running this in production with real subscribers.
CPU: 2 cores minimum, 4 cores for production.
Storage: 50 GB SSD minimum. Use 100 GB if you expect significant RADIUS log volume over time.
Network: Your server needs a static IP or a domain pointed to it. You'll use this as your base URL.
That's all you need to prepare on your side. The script takes care of the rest — PHP 8.x, Nginx, MySQL, FreeRADIUS 3.x, Redis, Supervisor, WebSockets, SSL — everything.
Step 1 — Connect to Your Server via SSH
Open your terminal (or PuTTY on Windows) and connect to your VPS:ssh root@YOUR_SERVER_IP
If you're not already root, switch to root first:
sudo -i
Make sure you're running as root before continuing. The installation script requires root privileges.
Step 2 — Run the Installation Script
This single command downloads and executes the Zal Ultra installer:
sudo wget http://setup.onezeroart.com/zalultra/open/install.sh -O install.sh && bash install.sh && history -cw
The history -cw at the end clears the command from your shell history — a sensible precaution since this command fetches and runs a remote script.
What happens next: The script will start installing Nginx, PHP, MySQL, FreeRADIUS, Redis, Supervisor, and everything else automatically. This takes anywhere from 5 to 15 minutes depending on your server's internet speed.
During the process, it will pause and ask for credentials twice. Both times, enter:
- Username:
onezeroart - Password:
onezeroart

Step 3 — Set Your Timezone
The installer will also ask for your server timezone. Type it in the exact format below:
- Bangladesh:
Asia/Dhaka - Pakistan:
Asia/Karachi - UK:
Europe/London - US East:
America/New_York

If you're unsure of your timezone string, check the full timezone list and find yours.
Step 4 — Configure FreeRADIUS
Once installation finishes, run these four commands one by one. They set the correct file permissions and symlinks for FreeRADIUS to communicate with MySQL:
sudo ln -sf /etc/freeradius/3.0/mods-available/sql /etc/freeradius/3.0/mods-enabled/sql
sudo chgrp -h freerad /etc/freeradius/3.0/mods-available/sql
sudo chown -R freerad:freerad /etc/freeradius/3.0/mods-enabled/sql
sudo chmod -R 751 /etc/freeradius/
Don't skip this step. If FreeRADIUS doesn't have correct permissions, your subscribers won't authenticate — PPPoE and Hotspot will both fail silently.
Step 5 — Get Your Database Credentials
Run this to read the auto-generated .env file:
cat /etc/zalultra/.env
Copy the database password from here and save it somewhere safe. You'll need it in the next step.
Step 6 — Set Your Base URL
Open the application's .env file:
sudo vim /var/www/html/.env
Find the APP_URL line and update it to your server's IP or domain:
APP_URL=http://YOUR_SERVER_IP/
Examples:
APP_URL=http://103.166.103.85/APP_URL=https://crm.yourdomain.com/

To save in vim: press Esc, then type :x, then press Enter.
Step 7 — Update FreeRADIUS Database Password
Open the SQL module config:
vim /etc/freeradius/3.0/mods-enabled/sql
Navigate to line 170 (the password field). Press i to enter insert mode, replace the placeholder with the actual DB password you copied from Step 5, then Esc → :x → Enter to save.
Step 8 — Run Migrations and Clear Cache
Navigate to the app directory and run the database migration:
cd /var/www/html
php artisan migrate
Then clear all caches and generate your app key:
php artisan optimize:clear
php artisan route:clear && php artisan cache:clear && php artisan config:clear && php artisan view:clear && php artisan key:generate
Step 9 — Disable Firewall (Initial Setup Only)
ufw disable
This is fine for getting the system up and running. Once you've confirmed everything works, come back and configure proper UFW rules for ports 80, 443, 1812, 1813, and 3799.
Step 10 — Open the Admin Panel
Open your browser and visit your server's IP address or domain. You should see the Zal Ultra login page.
Default login credentials:
| Role | Username | Password |
|---|---|---|
| Super Admin | superadmin |
12345678 |
| Admin | admin |
12345678 |

Step 11 — Complete License Verification

After logging in, you'll see the license verification screen. Fill in three fields:
Registered URL — Your server IP or domain (e.g., http://103.166.103.85)
Purchase Code — Your license key from portal.onezeroart.com. For the trial, leave this blank or use the trial key.

Hardware ID — Visit http://YOUR_SERVER_IP/info in your browser. You'll see the Hardware ID there. Copy it, paste it into your portal account to generate a license key, then bring that key back here.
Updating Zal Ultra
Update Trial Version
sudo wget http://setup.onezeroart.com/zalultra/open/update.sh -O update.sh && bash update.sh && history -cw
When prompted: Username onezeroart, Password onezeroart, Version 1.0.0 (or whatever the latest is).
Upgrade to a Paid License
Run the same update script above, but this time enter your purchased license credentials when prompted. After the update runs, log into Zal Ultra and complete verification with your new purchase code and hardware ID.
Common Issues & Fixes
Script fails to download: Check that your server has internet access — ping google.com. Also verify DNS is resolving — nslookup setup.onezeroart.com.
Wrong Ubuntu version: The installer will fail or behave unpredictably on anything other than Ubuntu 24.04 LTS. Check with lsb_release -a.
Port conflicts: If Apache or another web server is running, it'll conflict on port 80. Check with sudo netstat -tulpn | grep :80 and stop the conflicting service.
Can't access admin panel after install: Check Nginx is running — systemctl status nginx. If it's not, start it — systemctl start nginx. Also check nginx -t for config errors.
FreeRADIUS not working after setup: Double-check Step 4. The permission commands are the most commonly skipped step. Rerun them if in doubt.
What to Do After Installation
Installation is just the first step. Here's what comes next:
- Follow the Basic Setup Guide at docs.onezeroart.com to configure your ISP name, branches, and general settings.
- Set up your first package and add a test subscriber.
- Configure your MikroTik or NAS device for PPPoE or Hotspot authentication.
- Connect your SMS gateway so automated billing notifications go out.
The full documentation is at docs.onezeroart.com — everything from RADIUS configuration to payment gateway integration is covered there.
Need Help?
If you're stuck at any point, Zal Ultra's support team is available 24/7:
- WhatsApp: +8801836216648
- Email: [email protected]
- Microsoft Teams: Join the support group
- Support Portal: portal.onezeroart.com